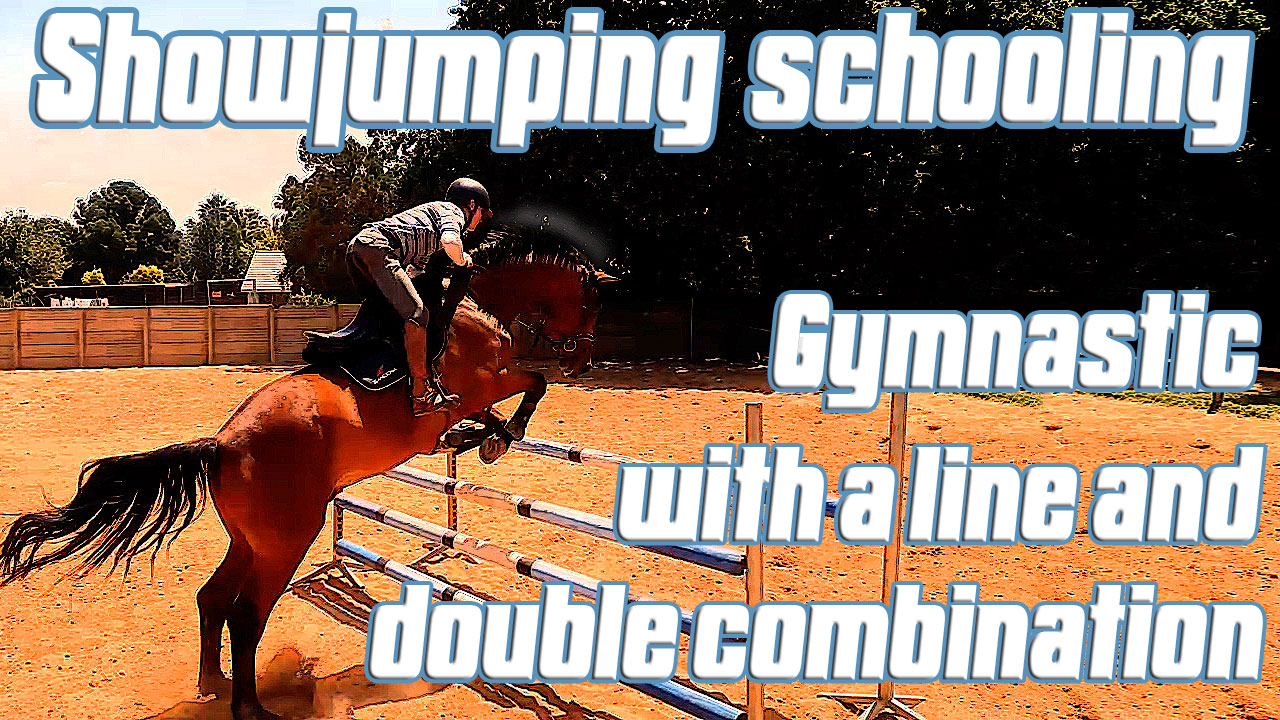
How to teach a horse to jump
How to teach a horse to jump
If you’re wondering how to teach your horse to jump or looking for a great exercise to help build confidence in both horse and rider, this one is ideal. It’s designed specifically for novice riders and young horses, focusing on the key building blocks needed for successful jumping.
For riders who are still developing their skills, this exercise is perfect for improving your ability to see a stride and ride a correct, steady pace through a related distance. Learning to recognise the right take-off point is a vital part of show jumping, and exercises like this will help you develop that feeling in a safe, controlled way.
For young horses, this is a fantastic way to introduce them to the basics of jumping. It will help improve their jumping technique, encourage better balance, and develop their strength and coordination. Young horses also learn adjustability and obedience through this type of exercise, which is essential for future progress.
Another benefit is that it teaches young horses to travel through a related distance smoothly and calmly, building their confidence without overwhelming them. It’s a simple, effective way to set the foundation for more complex jumping exercises down the line.
If you’re looking for guidance on how to teach your horse to jump in a way that’s safe, progressive, and confidence-building, this exercise is a great place to start. It’s straightforward to set up and provides long-term benefits for both horse and rider.
How to set it up
This is a simple, quick setup that won’t leave you or your horse tired before you even start riding. There aren’t many jumps, which means you’ll still have plenty of energy to ride the exercise a few times through. Let’s start with the more technical part and work our way through step by step.
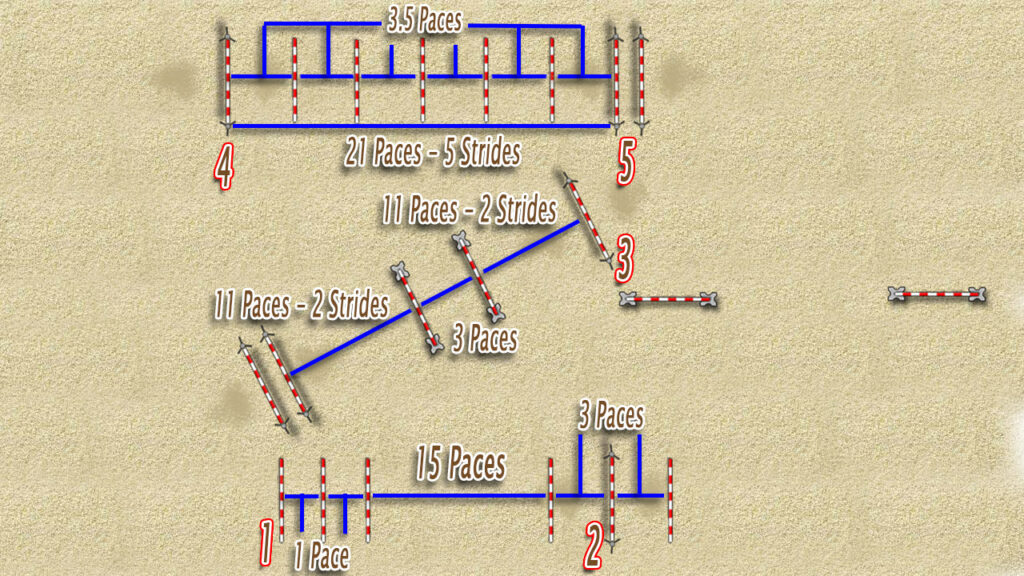
Step 1: Top Long Side — Vertical to Oxer Line
- Set up a vertical to oxer on the top long side of your arena.
- Measure 21 paces between the jumps for the related distance.
- Place this line slightly off-center and a little closer to one side of your arena.
- Add five placing poles in front of the vertical, spaced 3.5 paces apart. These will help with rhythm and accuracy.
Step 2: Bottom Long Side — Trotting Poles and Jump
- Set up three trotting poles, each 1 pace apart.
- About 15 paces after the last trotting pole, set up a vertical jump.
- Place placing poles 3 paces before and after the jump.
- This line is ridden at the trot, so the distance is not considered “related.”
Step 3: Diagonal Gymnastic Line
- Start with a vertical.
- Measure 11 paces to the first cavaletti for a two-stride distance.
- 3 paces between the two cavalettis for a bounce.
- 11 paces from the last cavaletti to the oxer for another two-stride distance.
Step 4: Warm-up Cavalettis
- Place two cavalettis in the middle of your arena for your warm-up routine.
That’s it — you’re all set up and ready to go!
Some of our latest exercises:
To receive more videos like this
sign-up for our weekly newsletter
You have a dog? Check out our sister site Waggley Wonders