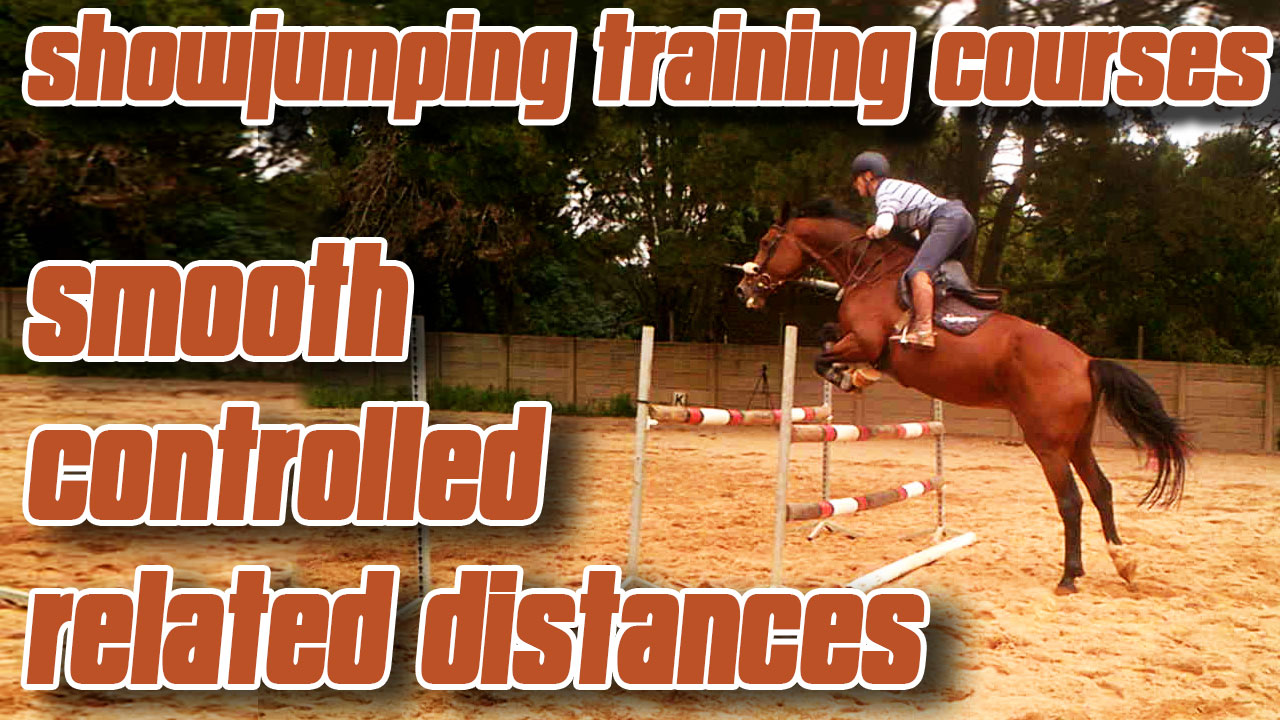
Hunter jumper courses – jumping training
Simple, Practical Hunter Jumper Course for Home Arenas
Setting up hunter jumper courses at home isn’t always easy—especially if you don’t have loads of jumping equipment or a large arena to work with. That’s exactly why smart, efficient course design makes all the difference. The key is to set up a course that allows you to jump fences twice—once in each direction—maximizing your setup without needing extra jumps.
This particular course is designed with exactly that in mind. You’ll only need seven jumps, but you’ll get nine jumping efforts out of the exercise. It’s ideal for smaller arenas where space is limited, and it keeps things simple and manageable while still offering a quality training experience.
Of course, the ultimate goal with any jumping exercise is to ride a smooth, balanced track without interfering too much with your horse’s natural canter stride. But let’s be honest—the perfect ride doesn’t always happen. There will be times you need to lengthen the stride, and other moments where you’ll need to bring your horse back and compress the canter.
That’s completely normal, but it highlights the importance of responsiveness. Your horse needs to listen to your aids so you can make these adjustments quickly and easily.
This course isn’t just about jumping—it’s about improving your horse’s adjustability and your own accuracy in the saddle. If you’re looking for effective hunter jumper courses you can set up at home, this is a great place to start.
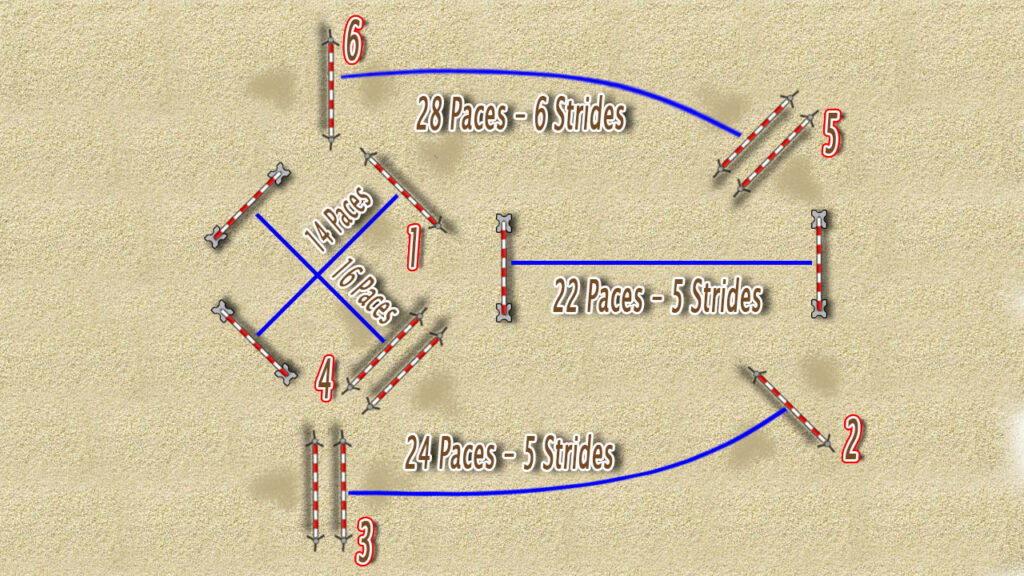
How to set up this hunter jumper course.
Simple Arena Exercise with Related Distances
This exercise includes several related distances, so it’s important to take care with your measurements. But once that’s done, it’s easy to set up.
Step 1: Lengthening Line (Diagonal Across Arena)
Start by setting up a line that goes diagonally across your arena. This part helps train your horse to lengthen its stride in the last 3 strides before the jump.
- Place a cavaletti, then measure 16 paces to the jump.
A standard 3-stride distance is 15 paces, but you add 1 pace to encourage your horse to lengthen its stride.
Step 2: Shortening Line (Opposite Diagonal)
Next, set up another diagonal line going the opposite direction. This part teaches your horse to stay short or shorten its stride before the jump.
- Place a cavaletti, then measure 14 paces to the jump.
This is 1 pace shorter than the standard 15 paces for 3 strides.
Step 3: Related Distance on a Curve (Top Long Side)
Along the top long side of your arena, set up an oxer to a vertical on a curve.
- Measure 28 paces, which rides down as 6 strides.
Step 4: Related Distance on a Curve (Bottom Long Side)
On the bottom long side, set up a vertical to an oxer.
- Measure 24 paces, which rides down as 5 strides.
Step 5: Warm-Up Cavalettis
Set up a cavaletti 22 paces (5 strides) on a curve from the first cavaletti in Step 1.
Then, set up another cavaletti 22 paces (5 strides) away from the previous one.
That’s it—you’re ready to ride! You’ll find the course plan JPEG linked below for easy setup straight from your phone.
Some of our latest exercises:
To receive more videos like this
sign-up for our weekly newsletter
You have a dog? Check out our sister site Waggley Wonders