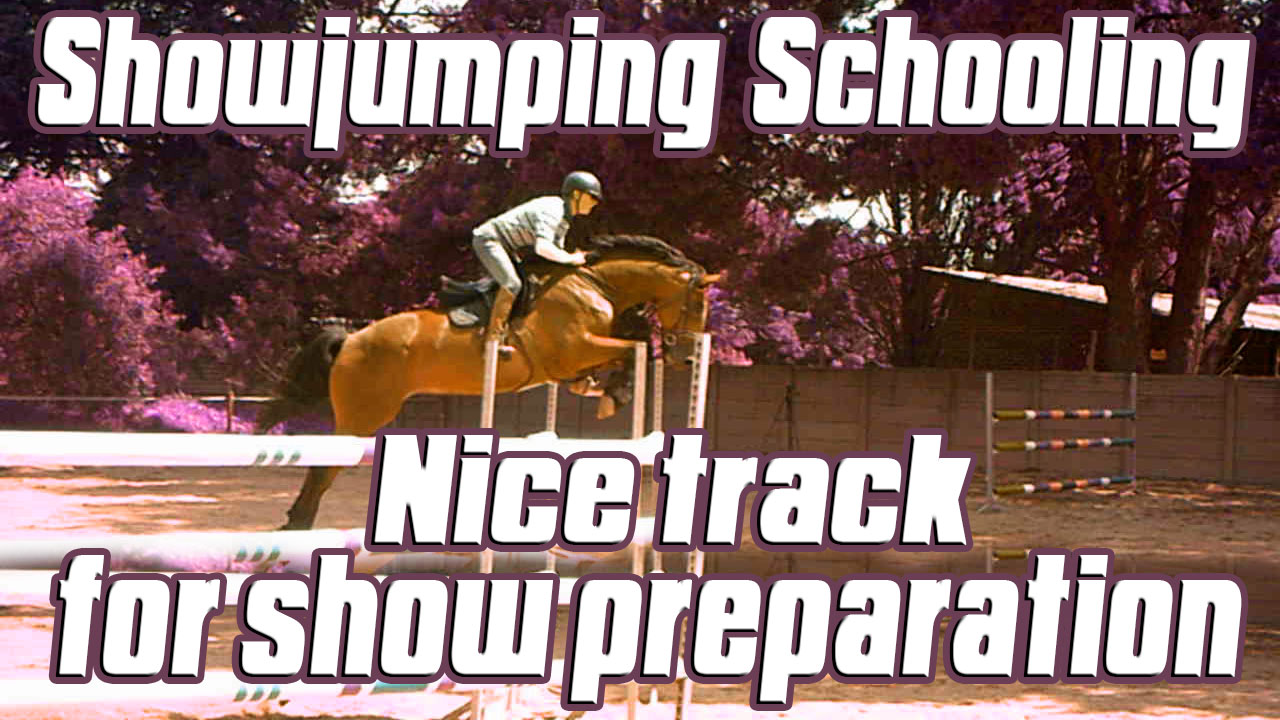
Horse jumping exercises that improve you and your horse
Horse jumping exercises for you and your horse.
This is one of those simple but highly effective horse jumping exercises that can make a real difference to both you and your horse. The line in this exercise is designed to gradually get tighter as you ride through it, which encourages your horse to sharpen their technique, improve balance, and develop better agility. These are exactly the qualities your horse needs to jump clear rounds consistently—and that’s the goal for all of us, whether we’re training at home or heading into competition.
But it’s not just about your horse. There’s plenty in this exercise to challenge the rider as well. You’ll be working on tricky turns, accurate approaches, and riding clean, controlled lines through related distances. It’s an excellent way to fine-tune your eye for a distance and sharpen your accuracy under pressure.
The beauty of this setup is that it doesn’t require a huge arena or loads of equipment, but it offers a lot in return. It’s perfect for building confidence in your horse and refining your own skills in the saddle.
If you’re looking for horse jumping exercises that focus on real-world skills—like adjustability, balance, and control—this is a great option to add to your training routine.
You’ll find the full course plan and setup guide below, along with video instructions to help you get the most out of the exercise.
How to setup this horse jumping exercises up
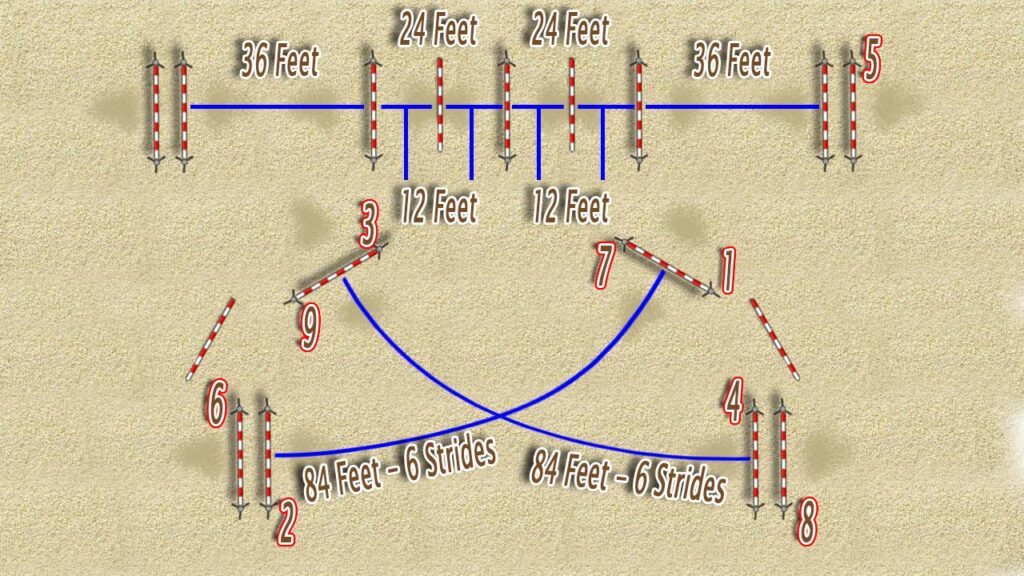
Simple Arena Setup — Step-by-Step Guide
This is a straightforward setup that’s well worth the effort. It’s quick to build, and the exercise offers great benefits for both you and your horse.
Step 1: Line Along the Bottom Long Side
Start with the most technical part—the line along the bottom long side of your arena:
- Vertical to Oxer — 3 strides, measuring 16 paces or 48 feet
- Oxer to Vertical — 2 strides, measuring 12 paces or 36 feet
I’ve added V-poles to this vertical to help your horse stay straight and focused, but they’re optional. - Vertical to Oxer — 1 stride, measuring 8 paces or 24 feet
Step 2: Line Along the Top Long Side
Next, build a related distance along the top long side:
- Oxer to Vertical — 6 strides, measuring 28 paces or 84 feet
Step 3: Angled Jumps
- Place a vertical at an angle, making sure you have a good, clear approach and ride away from it.
- Place an oxer at an angle, again ensuring you can ride to and from it comfortably.
Step 4: Warm-Up Cavalettis
Finally, lay out three cavalettis as shown in the course plan. These are perfect for your warm-up routine.
And that’s it! You’re ready to ride. Don’t forget to download the JPEG course plan below so you can easily follow these instructions straight from your phone.
Some of our latest exercises:
To receive more videos like this
sign-up for our weekly newsletter
So that’s our showjumping training tips for this week. You are also most welcome to join our Facebook group. We are a group of like-minded showjumpers from around the world. We all want to become the best showjumpers we can be. You can post videos and get feedback from the other riders, including myself. JOIN OUR FACEBOOK GROUP
You have a dog? Check out our sister site Waggley Wonders